Add the booking widget to your website
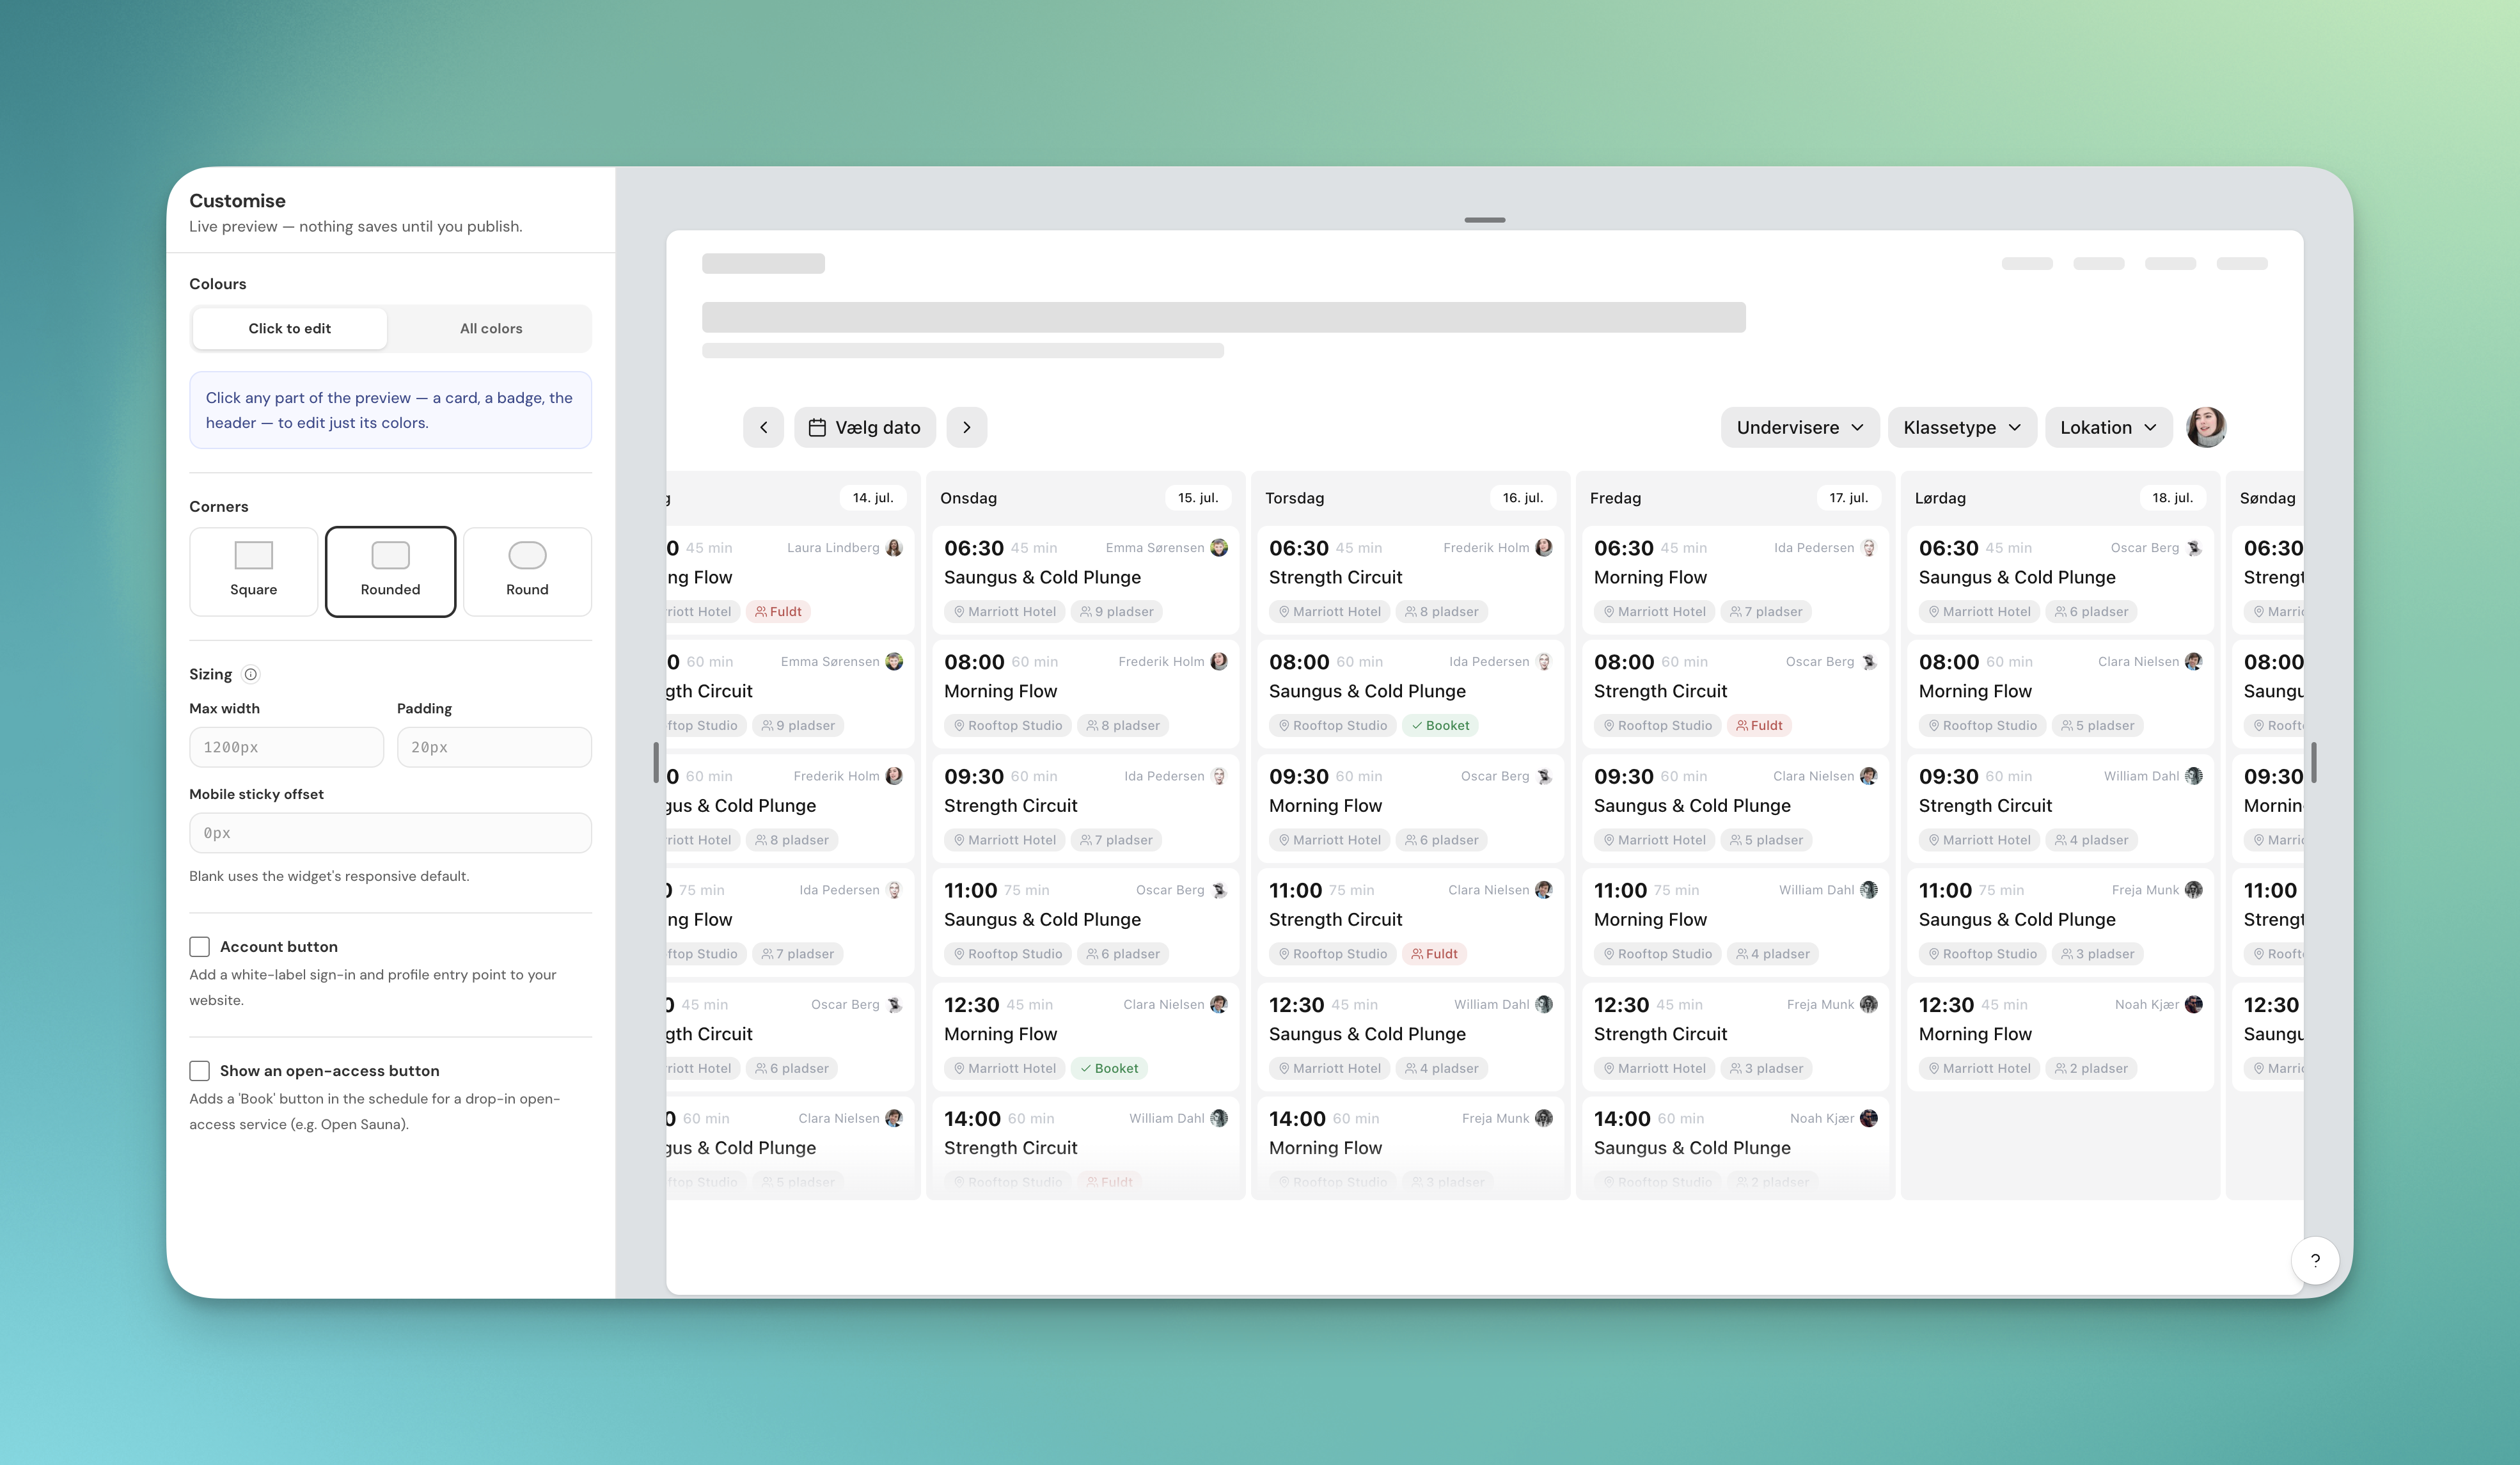
The Ferb booking widget shows your schedule on your own website so members can browse classes, book, and manage their account without leaving your site. You add it with one script and one tag.
You need the owner or manager role.
Get your embed code
Go to Website in the sidebar.
First time: set up the look of the widget (see Customize your booking widget), then choose Continue to embed. After that, you land on your widget summary with the embed code shown.
Copy the two pieces of code from the Embed code section.
Copy the script and add it to the <head> section of your website
<script src="https://widget.ferb.co/v1/schedule.js" data-brand="your-studio-slug" data-locale="en" defer></script>
<ferb-schedule></ferb-schedule>
Then copy the <ferb-schedule> Put it wherever you want the schedule on the your website.
Add it to your site
The embed section has step-by-step guides for Webflow, Framer, plain HTML, WordPress, and Shopify. In short:
Add the script to your site's custom code (head or footer).
Add the <ferb-schedule> tag in an embed or HTML block where the schedule should show.
Publish your page.
Give the widget a full-width container with no padding; Ferb applies its own spacing and the schedule grows taller on mobile.
Verified domains
In the Verified domains block, add the domains where your widget will appear. Both the www and non-www versions are allowed automatically.
Troubleshooting
- The widget does not show in your website builder's editor.
👉 It only renders on the published page, not inside the builder's canvas.
- The schedule looks clipped on mobile.
👉 It’s container needs to be full width, with no fixed height or padding.
- Nothing loads.
👉 Make sure the loader script is on the page and includes defer, and that you added both the script and the <ferb-schedule> tag.
Related
Customize your booking widget
Add a login button to your website
Understand the member portal